
Surfaces, Surfaces
May 01, 2019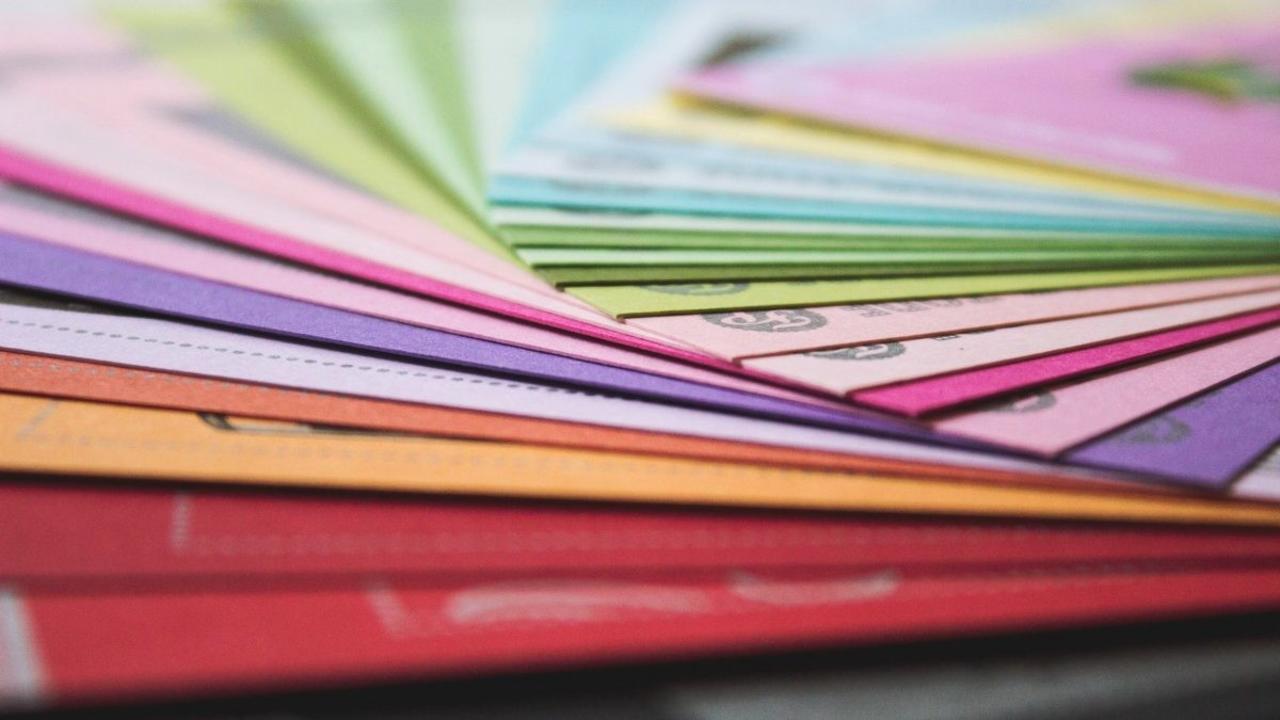
Creating your art on different surfaces.
When we record our ArtEyeDeer videos, we’re conscious of keeping the surfaces that you make your artworks on accessible.
By surfaces, we’re predominantly referring to paper, but from time to time, we like to introduce related surfaces like card, or cardboard.
We also like to present new ways to treat your surfaces, so that your drawings, paintings, and mixed media works can be influenced by the ground you apply to the surface.
In art terminology, a ground refers to the background surface that you then draw or paint over. It is most often an all-over coating; it can be evenly applied, or it can be rough and intermittent, depending on the visual and textural qualities you’re after. The ground can also be opaque, so that it is dense enough that you don’t see the surface below, or it can be semi-transparent. In whichever way you decide to apply it, the idea is that it becomes the foundation surface of the drawing or painting. Watercolour, acrylic paint and drawing ink can all be used to create a ground on paper.
General Papers:
We most often use white cartridge paper as the regular surface for our lessons. The thickness of paper is described by its weight in grams (gsm) or pounds (lb). The average weight for good cartridge paper is 110gsm (41lb). If you really enjoy working with lots of layers of paint and dry media, then a 200gsm (75lb) weight will hold its shape and stand up to a lot of treatment with a variety of media. Art shops sell cartridge paper in packages and as loose sheets.
Ordinary photocopy/printer paper is actually very strong, even though it seems thin in comparison to cartridge (usually 80gsm/30lb). It’s a good paper for tracing as its thinness assists with tracing images from one sheet to another, using a window as the light source. It holds up to having collage materials applied to it and can support watercolour and acrylic paint. Drawing ink has a high degree of pigmentation (colouration), so it will often bleed through to the back of this paper.
Brown paper (often known in art shops as Kraft paper) is one of the most versatile paper surfacesthat you can work on. It is very strong (280gsm/104lb) and has a high resistance to tearing. It can take a lot of layering and media treatments. The fact that it’s brown is a bonus – it has a form of “ground” already – meaning that if you are a bit tentative about working on a clean white paper surface, Kraft paper takes some of this worry away, as it helps you to feel like the drawing or painting has already begun. It can be purchased in A3 OR A4 sheets, or an 80gsm (30lb) roll, which is thinner, but still strong and flexible.
Coloured card packs of A4 or A3 assorted colours (220gsm/81lb) can be purchased at art or stationery shops. Sometimes, working on a coloured paper that is the opposite colour to the colours of the drawing or painting is a great technique for making colour “glow”. This kind of card tends to be very smooth, so inexpensive coloured pencils can have a build up of wax that makes layering of colour a bit more difficult. The card supports acrylic or gouache paint well.
Specialist Papers:
Watercolour papers come in a variety of weights and textures (smooth, medium, rough). The standard weight is 190 gsm (90lb), and the heaviest watercolour paper that is appropriate for our lessons is 300 gsm (140lb). Essentially, the weight of the paper dictates how much water it will absorb before buckling, pilling (those small balls of paper that pile up on the surface when a paper is overworked) or tearing. Watercolour paper can be manufactured as cold press or hot press. Hot press papers are very smooth, used for drawings or fine watercolour applications. This paper doesn’t like lots of scrubbing with the watercolour. Cold press has a bumpier texture, where the watercolour can settle on the surface and into the troughs of the paper, offering more opportunities for experimentation with technique and process. A lightly textured medium weight paper offers the most cost-effective versatility.
Pastel papers are specialised grounds principally used for pastel or coloured pencil drawing. This paper holds the colour of the pastel or coloured pencil really well, allowing you to layer colour over colour for tonal work. The brand Colourfix produces a range of coloured grounds in pads of either 12 sheets warm, or 12 sheets cool colours, in original and smooth textures, or the paper can be purchased as single sheets. You can replicate the pastel ground by using acrylic paint that you gently and evenly roll with a sponge or foam roller over a heavy cartridge paper. Very fine sandpaper is also a less expensive surface the is good to draw on with pastels or coloured pencils.
Other surfaces:
Tracing or drafting paper is always handy for using to trace images, but also, 110gsm (41lb) tracing paper is great for actually using as a surface for coloured pencil drawing. The paper holds the colour really well, and the semi-transparency of the tracing paper gives the drawing an interesting luminosity. Even non-waxed kitchen paper is an excellent surface to draw on.
Box cardboard cut from ordinary cardboard boxes is an inexpensive surface to use for drawing. A ground can be painted onto it with either a brush or a sponge roller, using any left-over water-based house paint that you might have stored at home. When dry, this surface is great to use for any drawing, painting or mixed media artwork.
Collage materials collected from a variety of paper products are a must for creating grounds on which to then draw or paint over and into. Keeping a plastic sleeve, or large envelope handy for storage of collage materials should be an on-going commitment. If you keep your eyes continually scanning for collage materials in your everyday life, you’ll be pretty amazed at how quickly that storage sleeve or envelop fills up! Think stamps, paper wrappers, the inside patterns of business envelopes, small scraps of wrapping paper, junk mail, tissue paper scraps, old sewing patterns – text, patterns, printed images, colour, black and white – nothing is too small, and this is one time when small really can be beautiful!
In our lessons, don’t be afraid to experiment with varied surfaces. Substituting one for another can change the visual outcome of your artwork – this is one of the exciting aspects of the lessons – you can interpret them using the surfaces you are able to access. Just keep in mind what modifications you may need to make, according to the media you are using, and how the media reacts to the surface. You are the artist; the art you make is in your hands, so enjoy the process!
Wendy Muir
Art Eye Deer Teacher
