
Material Matters
Mar 18, 2019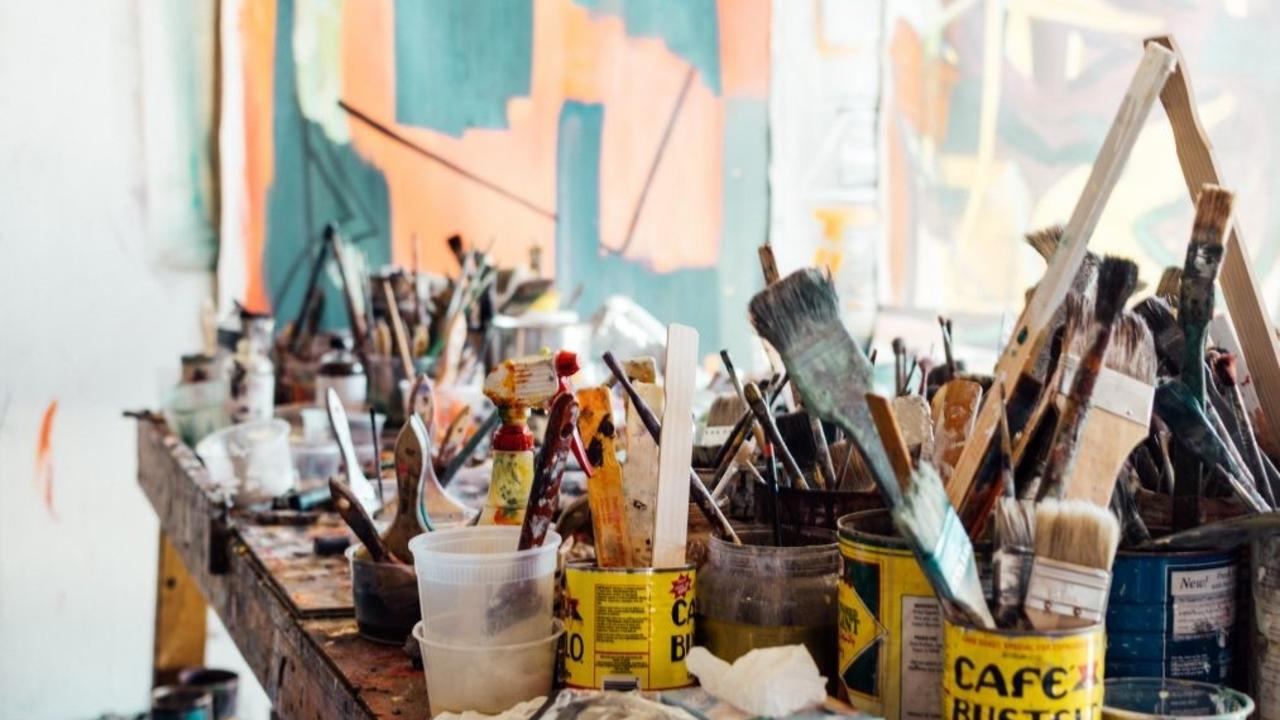
Does the quality of the materials you use to make artworks matter?
The answer is a surprising “Yes” and “No”!
As far as possible, it’s always better to purchase once, and purchase well. But it’s also equally important to realise that good materials require good maintenance routines that will keep them performing well. So, what kind of artist–caretaker of materials are you? What routines do you have in place to look after your new art materials?
The “No” part of the answer refers to those non-art materials that cost little and are not necessarily of good quality but can yield great visual results.
What do you really need, anyway?
We’ll assume that you’re keen to try a range of ArtEyeDeer lessons which encompass the use of dry and wet media. Let’s look at these materials in terms of their technical capabilities and the type of creative results that they can yield.
DRY MEDIA
- Graphite (lead) pencils: these are graded incrementally according to the degree of hardness to softness, and the corresponding marks these make on a surface. So often, student artists will be disappointed in a drawing, not because their skills are poor, but because they selected the wrong grade of pencil for the task. A hard, scratchy pencil will never give you a soft tonal gradation in a drawing. An HB pencil is situated right in the middle of the hard to soft scale – it’s a good one to acquire. The “H” designates it as a hard pencil, useful for light outlines when beginning a drawing. “B” pencils will give you a range of tonal controls. 2B (for soft tonal marks), 4B and/or 6B for making darker tonal shifts are adequate for the drawings we do. Combining the HB, with the 2B or 4B will also assist you to make smooth transitions in tone in a drawing. Derwent, Faber–Castell, Prismacolour and Staedtler all make excellent ranges of Graphite pencils.
- A good pencil sharpener and a good eraser: it might seem silly initially to spend money on these when you might have them lying around at home. However, a solid metal 2-hole pencil sharpener (Studymate) will keep your pencils sharper for longer because the sharpener is less likely to weaken the lead through continual breakage of the tip. You can’t beat a clean white eraser (Faber-Castell or Staedtler) for both spreading graphite on a surface and erasing the graphite back to the white of the paper for sharp highlights.
- Ball-point pen: black and blue ball-point pens are great non-art tools that can be used in so many ways to enhance a drawing. They are excellent for hatching and cross-hatching, continuous line drawing and contour line drawing. Choose your favourite ball-point pen for writing and try it out for drawing. If you love to doodle with it, chances are that it will be great for drawing.
- Charcoal: willow, compressed and powered: What’s the difference, and what are their merits? Willow charcoal comes from burnt willow branches. It is in its natural state, it’s soft and can be easily snapped. It makes soft powdery lines and tones, that can be erased to leave minimal residue on the paper surface. It’s hard with willow charcoal to get strong dark areas of tone. Compressed charcoal (which has been made by combining powdered charcoal with wax or gum) on the other hand, will yield powerful dark tonal marks, where you can press with some force without damaging the charcoal bar. This quality also makes it hard to erase completely – erasing is better used with compressed charcoal to bring back minor highlights or spread tone. It can also be sharpened without splitting, for fine linework. You can manufacture powdered charcoal yourself – by gently grating compressed charcoal against a piece of fine grade sandpaper (one of the very useful non-art materials!). Collect the powder into a container and use by applying to your paper with a soft brush (make–up brushes/pads/small sponge applicators work really well – more useful non-art staples). A kneadable eraser (Faber-Castell) is really handy for working back into your drawing to spread the charcoal (all three types) – it’s great fun to use as it can be shaped to fit the tasks of erasing highlights or shaping fine details. In essence, the eraser is drawing by subtraction!
- Coloured pencils: you definitely don’t need a big set of coloured pencils with every colour under the sun. ArtEyeDeer lessons teach you how to mix colours from a limited range of basic colours. The two important factors that you should consider are the depth of colour and the ease of glide of the pencil over the paper. If a coloured pencil has a lot of hard wax in it, the colour can be difficult to blend. This is often the biggest problem with very inexpensive sets from supermarkets. A set of 12 Prismacolour, Derwent or Staedtler is all you need to get started. As you progress, art shops sell individual specialty colours that you can gradually purchase to supplement your existing set.
- Black Pens and Markers: Prockey medium bullet tip and chisel tip are great essential markers. Artline 200 Fine 0.4 and Pilot V 0.7 are two great pens for drawing fine line.
- Coloured Markers: this is one medium where sometimes the cheaper, the better! There are so many interesting ways that you can overlay colours with markers, and all markers will perform this function. Even when they begin to run out, their dry scratchiness can be used to advantage in a drawing. Never throw them out until they’re well and truly dried out! Look around home for all sorts of markers – including highlighter pens, thick Crayola kindy markers, supermarket packs – they all have their merits as inexpensive tools for marking a paper surface with colour.
- Specialty markers: *** Non-essentials: think birthday or Christmas gift! Uni–Posca Paint Markers are water-based pigment ink inside a marker pen. They’re fantastic for applying flat, vibrant colour – especially good for pattern-making. Once dry, they are lightfast and water-resistant, so you can even wash watercolour over them. The medium tip is the most versatile size. Sakura Permapaque Paint Markers are medium dual point – they have a bullet tip at one end, and a chisel tip at the other, which is great for getting variety in your mark–making.
- Pastels: hard, soft, oil, PanPastels, and pastel pencils *** Non-essentials: more birthday or Christmas gift ideas! Soft pastels have wonderfully strong colour. They can be crumbly to use, but the powdery pigments blend very successfully. Layering colour onto colour is their specialty. *** To stop them smudging beyond what you want, remember to “fix” the pastel using hairspray of artist fixative. Reeves and Faber-Castell produce good student quality soft pastels. Pan pastels are relatively new and gaining in popularity. They are a soft pastel compressed into a shallow “pan” – the pigment can be lifted using a brush, sponge, or spatula (non-art tools can be used to lift them). They can be erased, blended, and mixed; and, they are great for fine detailed work as you can control the movement of the pigment more easily. They too, need to be fixed for permanency and stability. Hard pastels don’t crumble as easily as soft pastels, but also don’t blend quite as seamlessly. They are versatile and mix well with soft pastels. They’re very good for sharpening to a point to draw fine detail, or to use on their side for sweeps of broad of colour. Fix for permanency and stability.Van Gogh or Prismacolour make good student grade hard pastels. Pastel pencils are very versatile – they can be used in combination with any dry pastel medium, they’re great for sketching, or adding the final details to a soft pastel drawing. If you purchase a basic set of soft pastels, you could add two or three special colours of pastel pencils – the colours that you love to use. Fix for permanency and stability. Stabilo, Faber-Castell and Derwent make student quality pastel pencils. Oil pastels are waxy and won’t smudge, bleed or crumble. It’s like using oil paint in texture, and they don’t require any fixing to stay stable. The important thing to remember though, is that they can be applied over any of the dry pastel mediums, BUT they cannot be put down first and then have any of the dry pastels worked over the top. Many a good pastel drawing has been messed up when the student artist has forgotten this simple tip! Portfolio water-based oil pastels are so versatile – you can wash them with water to create semi-transparent glazes.
- Clear plastic ruler, set-square and glue stick: always useful and recommended to have as part of your basic dry media kit.
WET MEDIA
- Watercolour: A watercolour pan set is a must for your artwork. Mixing your watercolours means you can extend your colour palette, so don’t go crazy first up with huge pans of colour that won’t necessarily get used. Many cheaper student brands of watercolour have extenders and fillers in them, so their colours aren’t always strong, and they are not very light permanent. A good solution is to have two sets; a cheap set for underpainting – the process where you lay down paint, expecting to either paint or draw over the top with other media, and a better-quality set of fewer colours for artworks where the watercolour itself becomes the whole or majority of the artwork. Winsor and Newton have both inexpensive and good quality sets available. In a good quality set, look for the paint’s ability to wash in even transparent glazes, and whether the watercolour will stain the paper (this can be good and bad – staining can leave beautiful marks when dry, but it also means that you may not be able to blot out mistakes very easily). If you like the idea of watercolour tubes, Reeves makes a watercolour colour wheel set, where you have 12 colours relating to the warm and cool hues of the colour wheel. You can’t go wrong!
- Watercolour brushes: You could go crazy with all the variation of brushes available, but every artist will tell you that just as important as good brushes are, there’s lots of merit in having a range of really cheap brushes available to use for unexpected results (the kind you can buy at the supermarket or $2 shop). In terms of good student brushes, medium quality synthetic round brushes (one or two fine and medium sizes) are essential to use because you can change and control the quality of your brush mark by simply altering the angle and pressure of the brush; plus, one medium flat brush will get you started. If you like to wash areas of your paper with water first, get a cheap small to medium house-painting brush from a hardware store.
- White acrylic paint: one medium tube of titanium white acrylic paint is a must for adding highlights to either a drawing or mixed media painting (Winsor and Newton or Reeves). Look after it, and it will look after your finishing touches on an artwork!
- Gouache: If you like to “design” with paint, then gouache will suit you. This paint is opaque, meaning that you can’t see through it. When painted on to paper, it dries flat, with few visible brush marks. It is always “active” though, so if you work wet over dry, the gouache underneath will active again, and mix with the new application. So, it is a medium which requires some planning before use. *** It’s another of those wonderful birthday or Christmas gifts! Richeson make a 12-tube student set worth trying. If you really get into using gouache, it’s worth then spending a bit more for a Winsor and Newton Designer’s Gouache set – you’ll find the application is smoother and the colours are richer. Your watercolour brushes will work well with gouache too.
- Acrylic paint: If you’re the type of artist who is enjoying the expressionist lessons that ArtEyeDeer have to offer, then instead of gouache, you may prefer acrylic paint. Chromacryloffer 5-tube warm colour and 5-tube cool colour sets (Premium Student Acrylic) – a set of each would allow you to mix unlimited colours. At least one medium Round brush used for patterns, detail, and differing stroke weight; a medium Flat brush for painting shapes, lines and working up to edges of shapes or forms; and a medium Filbert brush, which is a mix between a round and flat, will help you out with blending. You can add varying sizes as you become more adept with your painting technique.
- Drawing ink: this is such a versatile medium that can be used for drawing and painting. Black drawing ink is a must! Once you have it, you’ll use it all the time. Purple, Umber and Siena are also useful colours if you like drawing objects based in nature. Winsor and Newton have 4-colour sets of vibrant hues which when mixed, will offer you most of the colour wheel colours. If you like to experiment, try using food colouring instead of drawing ink – it won’t be as permanent or lightfast, but it’s a great alternative for strong colour. The brushes you have for your other wet media will work with drawing ink.
- Those art “tools” you find for free around the house and garden: plastic knives, corrugated cardboard scraps, tiny plastic ice-cream cup spoons, bamboo skewers, old toothbrushes, thin pieces of doweling that can be snapped in half to reveal uneven edges that are great to draw with using ink, sticks from the garden, feathers, fronds from ferns or palms… there a an infinite variety of make-shift drawing and painting implements which you just need to ferret out, and which will offer you so many opportunities for experimentation. You should always keep a box of these alternate tools ready to use – every good artist does!
So, there’s the list of ArtEyeDeer material essentials, and would-really-like-to-have desirables. Once you get started, you’ll begin to formulate your own materials kit according to the way you work, and the techniques and processes that engage your visual thinking. Know which materials need to be cherished and looked after carefully, and which ones you can use to expand your creativity and broaden your experimentation.
In the end, it’s over to you to determine your own artistic material matters!
Wendy Muir
Art Eye Deer Teacher
